Everything You Need to Know About Tiles Around the Swimming Pool

The area around your swimming pool is more than just a space to lounge or a path to get from the house to the water; it’s an integral part of your outdoor aesthetics. One of the most impactful choices to make in enhancing this space is selecting the right tiles around the swimming pool. With various options available, understanding these choices can help elevate your poolside area while ensuring safety and functionality. This comprehensive guide explores the different types of tiles, their benefits, installation tips, and maintenance strategies.
Understanding the Importance of Tiles Around the Pool
Tiles serve several purposes around a swimming pool. Here’s why investing in good tiles can make all the difference:
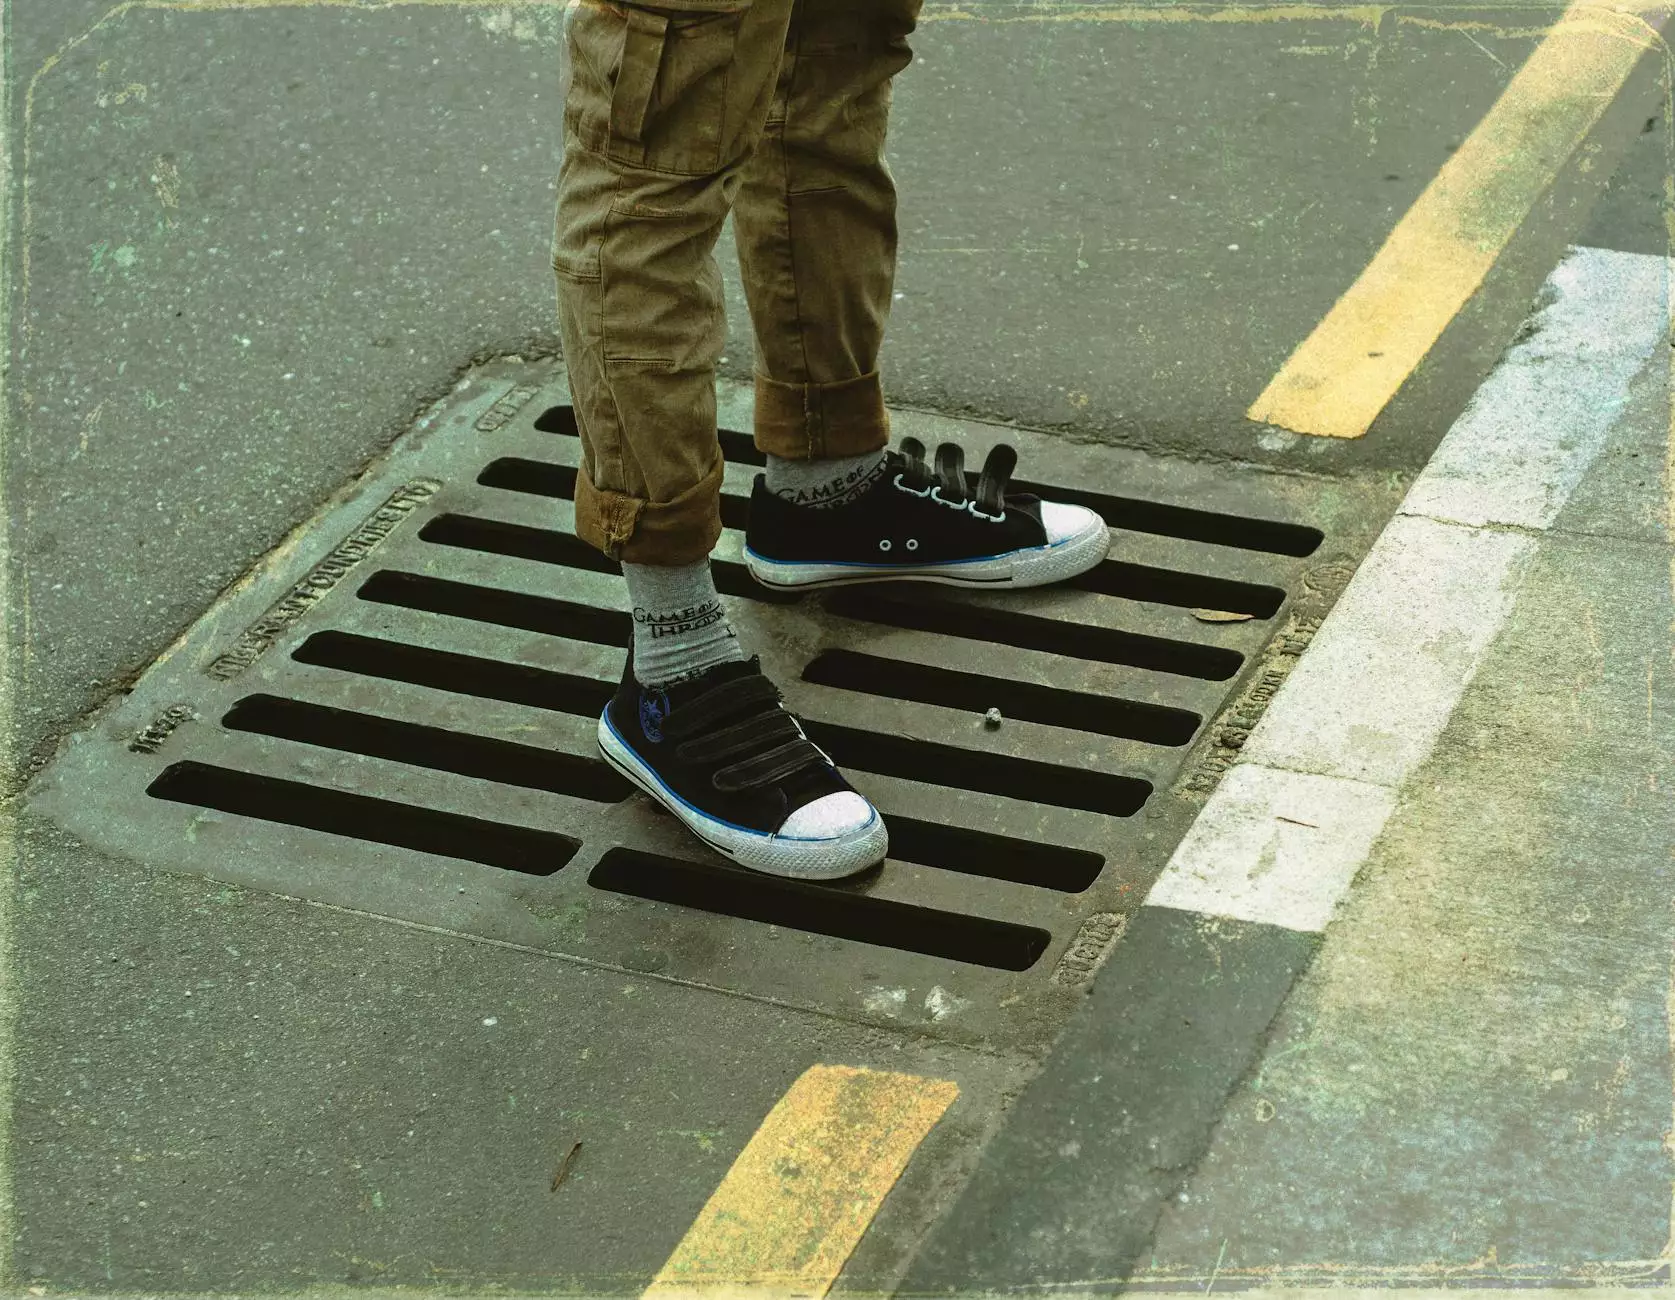
- Safety: Wet surfaces can be hazardous. Choosing tiles designed to be anti-slip can significantly reduce the risk of accidents.
- Aesthetic Appeal: Tiles can enhance the overall look and feel of your outdoor space, giving it a polished and luxurious finish.
- Easy Maintenance: High-quality tiles are resistant to stains and easy to clean, making the upkeep of your poolside simpler.
- Durability: Good tiles resist the effects of sunlight, water, and chlorine, thus ensuring longevity.
- Temperature Control: Some tiles are designed to stay cool underfoot, helping to maintain comfort during hot summer days.
Types of Tiles Suitable for Pools
When it comes to choosing tiles around the swimming pool, here are the most popular types to consider:
1. Porcelain Tiles
Porcelain tiles are one of the top choices for poolside tiling. They are highly durable, incredibly resistant to moisture, and maintain their color and shine over time. Available in numerous styles, these tiles can mimic natural stone or wood, providing a versatile aesthetic.
2. Natural Stone Tiles
Natural stone tiles, such as travertine, limestone, or slate, bring a touch of elegance and timeless beauty to your pool area. They are slip-resistant and can withstand extreme weather conditions, although they may require sealing to protect against stains and moisture.
3. Glass Tiles
Glass tiles are a stunning option that can add vibrant colors and depth to your swimming pool. They are non-porous, making them resistant to algae growth, and reflect light beautifully. However, they can be more expensive and require careful installation to avoid cracking.
4. Vinyl Tiles
Vinyl tiles are an alternative for those looking for affordability. They come in various designs and can be easily replaced if damaged. However, they may not provide the same level of durability and heat resistance as other materials.
5. Ceramic Tiles
Ceramic tiles are durable and available in a vast array of colors and designs. They are easy to maintain and can be great for pool decking, especially with a textured surface to enhance traction.
Choosing the Right Material
While aesthetics are essential, there are several factors to consider when selecting materials for tiles around the swimming pool:
- Slip Resistance: Safety is paramount. Look for tiles specifically designed with slip-resistant properties.
- Water Absorption: Choose materials that have low water absorption rates to prevent swelling and cracking.
- Thermal Conductivity: Opt for materials that remain cool underfoot to ensure comfort on hot days.
- Style Preference: Make certain the style and finish of the tiles harmonize with the overall landscape design and architecture of your home.
- Budget: Consider your budget, balancing costs against benefits and durability.
The Installation Process
Installing tiles around your swimming pool is a vital process that impacts both safety and appearance. Here are steps you should follow:
1. Preparation of the Area
Begin by preparing the subfloor. This may include removing old materials and ensuring a solid, level base for the new tiles.
2. Choosing the Right Adhesive
Select an appropriate adhesive for the tiles. For poolside installations, it’s crucial to use waterproof, flexible adhesive to accommodate movement.
3. Tile Layout Planning
Before laying tiles, plan the layout carefully. Using spacers can help ensure uniform grout lines and alignment.
4. Laying the Tiles
Begin tiling from the pool edge and work outward. Press each tile firmly into place and adjust as necessary before the adhesive sets.
5. Grouting and Sealing
After the tiles are set, apply grout suitable for pool environments. Be sure to seal the grout once it dries to enhance water resistance.
Maintaining Your Poolside Tiles
To keep the tiles around the swimming pool looking pristine, regular maintenance is essential. Here’s how:
- Regular Cleaning: Clean tiles weekly to remove dirt, algae, and debris. Use a mild detergent or a pool cleaning solution.
- Check for Damage: Regularly inspect for chipped or cracked tiles and replace them promptly to maintain safety.
- Sealant Application: Reapply sealants every few years, particularly for natural stone tiles, to prevent staining and moisture penetration.
- Skimming Debris: Keep the pool area free of leaves and debris, which can trap moisture and lead to mold growth.
Conclusion
Choosing the right tiles around the swimming pool is a crucial decision that impacts the safety, aesthetic appeal, and longevity of your outdoor space. Consider factors such as slip resistance, durability, and aesthetics to make an informed choice. After installation, remember that good maintenance is key to keeping your poolside tiles looking their best for years to come. By following this guide, you’ll create a beautiful, functional, and safe environment around your pool, adding value to your home and maximizing your enjoyment.
Why Trust Pool Renovation
For expertise in pool renovation and care, poolrenovation.com is your trusted partner. With extensive experience in swimming pools and water heater installation and repair, we are committed to providing our clients with the best solutions for their outdoor needs. Contact us today to discuss how we can transform your poolside experience and elevate your home’s aesthetic.